Creating A Twitter Bot with Node.js
Learn how automated Twitter accounts work by creating a bot that summarizes articles.


Introduction
Bots on Twitter have been around for a while now. The facts are that you’ve probably interacted with or come across one without even knowing. We’ve seen Twitter bots that could help you download videos, add notes to your notion page, set a reminder for tweets, and even the crazy ones disguising themselves as metamask or some crypto support account wanting to steal your wallet (yeah, those accounts are usually automated too). Apart from the harmful ones, these bots help make our social experience better, and in this tutorial, we’ll learn how to build one for ourselves.
Throughout this article, we'll be exploring how automated Twitter accounts work by building a bot that automatically summarizes articles for us.
✨ What we are building
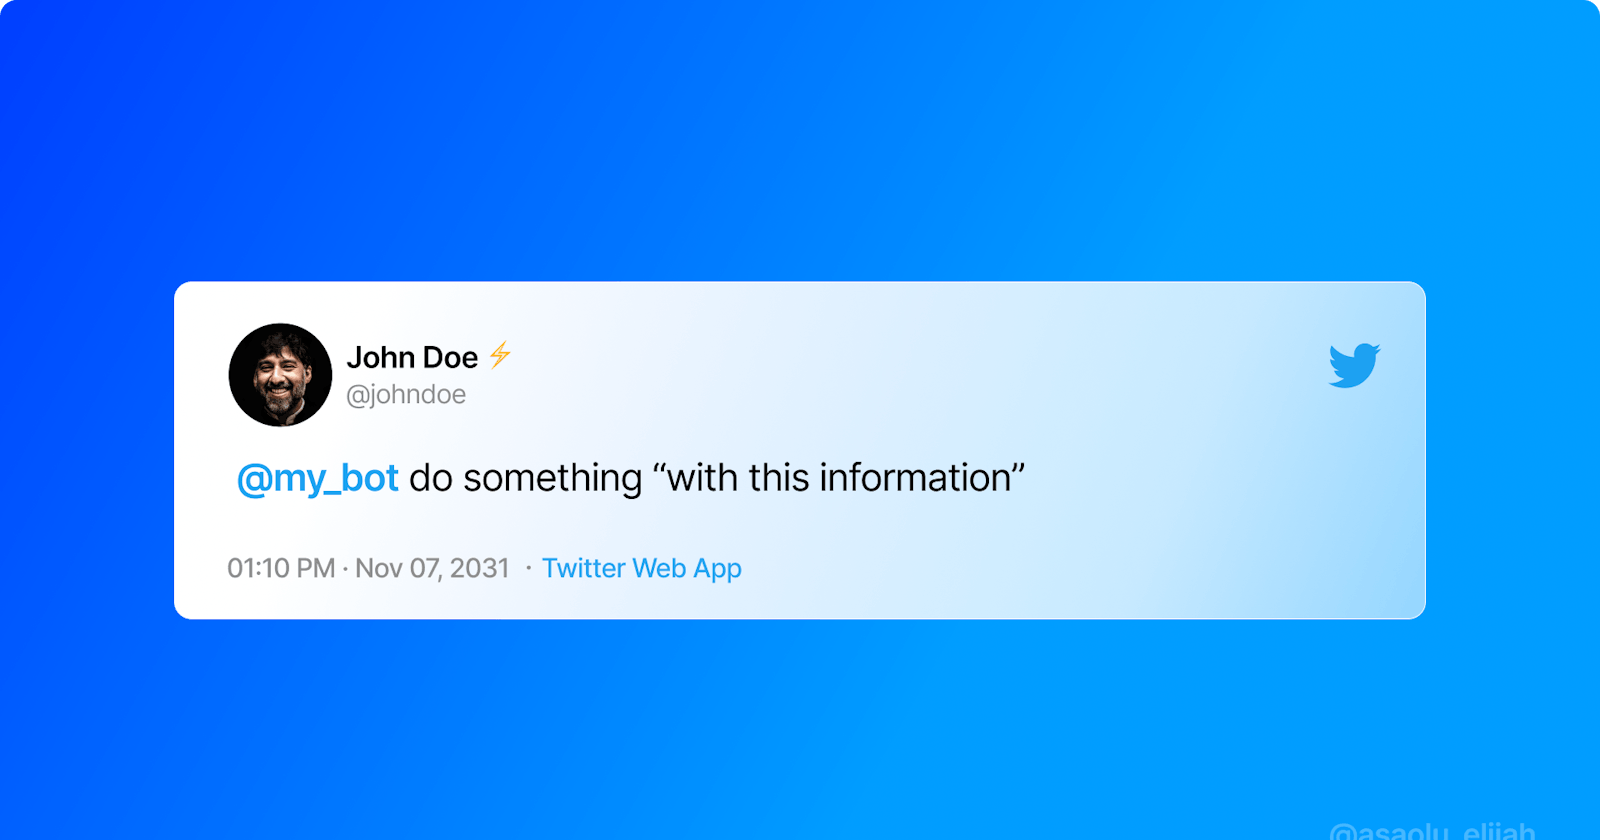
News platforms are inarguably notorious for crafting clickbait titles, and as humans, we're sometimes too lazy to read the news in its entirety and would rather judge a story by its title. With what we are building, we'll simply have to mention the bot (username) in a tweet containing a link to an article you want to summarize, and the bot will respond with the summary form of the piece.
For your convenience, the whole code for this tutorial is also provided at the end of this post.
Prerequisite
The following prerequisites are assumed to follow along with this tutorial:
- Basic knowledge of Javascript and Node.js
- Knowledge of the command line/terminal
- And, of course, positive vibes.
Getting Started
Before we can start interacting with the Twitter API, with which we’ll be creating our bot, we need to have access to a Twitter developer account. To do this, head over to the Twitter Developer Platform and sign up for a developer account. Kindly note that the account verification process might take a while, mostly depending on the type of information you’ve provided during the application. However, once your developer account creation process is completed, you should follow the instructions outlined here to retrieve your API credentials. The four important keys required for this article are highlighted below:
- API Key
- API Secret
- Access Token
- Access Token Secret
Summarization API
We will not create the summarizing process from scratch; instead, we will leverage an existing tool that will do this for us. Following extensive research, I discovered that MeaningCloud handles this gracefully and offers a generous free plan for hackers. So you'll also need to go to MeaningCloud and sign up for a free account to get your API key.
Twitter-node-api
For interacting with the Twitter API, we’ll be using node-twitter-api-v2, a Twitter API v1.1 and v2 client for Node.js. This package has exported functions that’ll make it easier for us to interact with the Twitter API.
Let's get started by creating a new directory and initializing a new node project inside it:
mkdir summarizer-bot
cd summarizer-bot
npm init -y
The command above creates a new directory called "summarizer-bot", switches to it, and initializes a new Node.js project.
Next, we want to install the twitter-api package, and we can do so by running:
npm install twitter-api-v2
Moving forward, let's create a new config.js with the following content:
const config = {
  appKey: "YOUR_TWITTER_API_KEY",
  appSecret: "YOUR_TWITTER_API_SECRET",
  accessToken: "YOUR_TWITTER_ACCESS_TOKEN",
  accessSecret: "YOUR_TWITTER_ACCESS_SECRET",
};

module.exports = config;
This file exports a module named config, which is essentially an object that contains the API keys we obtained from our Twitter developer portal. At this point, you should double-check that you've modified these keys correctly.
👋 Hello World
To programmatically send our first 'Hello World' tweet, let's create a new bot.js file and populate it with the following content:
const { TwitterApi } = require("twitter-api-v2");
const config = require("./config");

const client = new TwitterApi(config);

const sendTweet = async () => {
  let res = await client.v1.tweet("Hello world!");
  console.log(res);
};

sendTweet();
In the code above, we’ve imported the config module we created earlier, along with the twitter-api-v2 module. We then initialized the twitter-api package with our config. Afterward, we defined a function sendTweet(), which calls an asynchronous method that lets us create a new Twitter post.
To start the magic, run:
node bot.js
If everything went well, back in our Twitter account, we should see that we’ve posted a new tweet successfully:

🏄 Streaming Tweets
The twitter-api-v2 module is pre-packed with a lot of helpful methods, and one of them, which is applicable to the type of bot we’re building, is the streaming API. With the streaming endpoint, we can literally listen to all the public stuff that’s happening on Twitter, plus we can further narrow it down and customize the result as preferred.
In our case, we want to automatically listen to anytime someone mentions our username (e.g., @summarizebot_), and we can do this with the following code:
const { ETwitterStreamEvent, TwitterApi } = require("twitter-api-v2");
const config = require("./config");

const client = new TwitterApi(config);

const streamTweets = async (tweetsFrom) => {
  try {
    const stream = await client.v1.filterStream({
      track: tweetsFrom,
    });
    stream.autoReconnect = true;

    stream.on(ETwitterStreamEvent.Data, async (tweet) => {
      const senderName = tweet.user.screen_name;
      const senderTweetId = tweet.id_str;

      const senderMessage = tweet.full_text;
      console.log(`New mention from @${senderName} 🔔\nThey said: ${senderMessage}`);

      // get original tweet
      const ogTweetId = tweet.in_reply_to_status_id_str;
      const ogTweet = await client.v1.singleTweet(ogTweetId);
      // console.log(ogTweet);
    });
  } catch (error) {
    console.log(`Error code: ${error.code}\nError: ${error.error}`);
  }
};

streamTweets(“@summarizebot_”);
Here, we are using the node-twitter package's filterStream() function to track new tweets that have mentioned our username, and if any tweet like this should occur, we’ve retrieved the sender’s username and logged it to the console. We've also acquired the metadata of the original tweet, to which the sender is responding.
If we update our previous bot.js file with the new code sample above, and run the file:
node bot.js
Anytime someone mentions or tags our username in a tweet, we get a response in the following format back in our terminal/console:
New mention from @some_user 🔔
They said, “Lorem, ipsum.”
Also, from our previous example, if we log ogTweet to the console, we’ll get a lot of information about the original tweet, such as the details of who posted it, the URLs and media links if they exist, among others. In our case, however, we are only interested in getting the link shared in the original tweet, and if it exists, we are able to access it at ogTweet.entities.urls[0].expanded_url. In the next section, we’ll be sending this URL to our summarizer API and replying to the user with the text returned from the API.
✨ Summarizing Articles
To summarize an article or plain text with MeaningCloud, we simply need to send a request to their api endpoint with a payload containing the URL to the article and the preferred length of article we want it to return.
Let's put this to the test by installing axios:
npm install axios
After installing axios, a sample request with the required payload would look like this:
const axios = require("axios");
const FormData = require("form-data");

const summarizeArticle = async (url) => {
  const formdata = new FormData();
  formdata.append("key", "YOUR_MeaningCloud_API_KEY");
  formdata.append("url", url);
  formdata.append("sentences", "2");

  const res = await axios({
    method: "post",
    url: "https://api.meaningcloud.com/summarization-1.0",
    data: formdata,
  });
  console.log(res.data);
};

const url = "http://link.to/sample/news";

summarizeArticle(url);
As indicated in our payload, the above request would return a two-sentence text from the supplied url.
Finally, to have our bot ready, we'll just need to add this new update to our earlier streaming example. Update the bot.js file with the following code:
const { ETwitterStreamEvent, TwitterApi } = require("twitter-api-v2");
const axios = require("axios");
const FormData = require("form-data");
const config = require("./config");

const client = new TwitterApi(config);

const summarizeArticle = async (url) => {
  const formdata = new FormData();
  formdata.append("key", "YOUR_MeaningCloud_API_KEY");
  formdata.append("url", url);
  formdata.append("sentences", "2");

  const res = await axios({
    method: "post",
    url: "https://api.meaningcloud.com/summarization-1.0",
    data: formdata,
  });
  return res.data.summary;
};

const streamTweets = async (tweetsFrom) => {
  try {
    const stream = await client.v1.filterStream({
      track: tweetsFrom,
    });
    stream.autoReconnect = true;

    stream.on(ETwitterStreamEvent.Data, async (tweet) => {
      const senderName = tweet.user.screen_name;
      const senderTweetId = tweet.id_str;
      // get original tweet
      const ogTweetId = tweet.in_reply_to_status_id_str;
      const ogTweet = await client.v1.singleTweet(ogTweetId);
      // check if original tweet contains a url
      if (ogTweet.entities.urls && ogTweet.entities.urls.length > 0) {
        let articleLink = ogTweet.entities.urls[0].expanded_url;
        let articleSummary = await summarizeArticle(articleLink);
        if (articleSummary) {
          // reply user
          const response = await userClient.v1.reply(
            `$@${senderName}\n${articleSummary}`,
            senderTweetId
          );
        }
      }
    });
  } catch (error) {
    console.log(`Error code: ${error.code}\nError: ${error.error}`);
  }
};

streamTweets("@summarizebot_");
The difference between this code and previous instances is that we have now converted the summarizing process to a function, and in our streaming operation, we are now checking if the tweet people mentioned us contains a link. If it does, we'll submit this link to our summarizer function. We then reply to the user with a copy of the summarized content.
At this point, we have completed the development of our bot. You want the bot to start with:
node bot.js
To try things out, use another account to mention your bot in a tweet with a link, and you should see it return the summarized output.
Conclusion
Throughout this tutorial, we covered a bit about how bots work on Twitter, and we created a pretty interesting bot that helps summarize articles from external sources. You could do a lot more cool stuff with the Twitter API, and we’ve only covered the bare minimum in this article.
In case you might have missed a step or two, the full code for this tutorial is also hosted on GitHub.
Also, the @summarizebot_ account mentioned in this article is currently a work in progress. You can, however, follow the account if you'd like to get updates on when it's completed.
Thanks for reading!